Introduction
Wall plaster plays a crucial role in construction by providing a smooth and durable surface for painting and finishing. Proper wall plaster not only improves the appearance of walls but also protects them from moisture, cracks, and environmental damage.
Whether you are building a new home or renovating an old one, understanding the right method of plastering work helps achieve long-lasting and high-quality results.
What is Wall Plaster?
Wall plaster is a mixture of cement, sand, and water applied to walls to create a smooth and even surface. It is one of the most important steps in finishing construction work.
The process of applying plaster is known as plastering, and it helps in strengthening walls while preparing them for painting or tiling.
Types of Wall Plaster
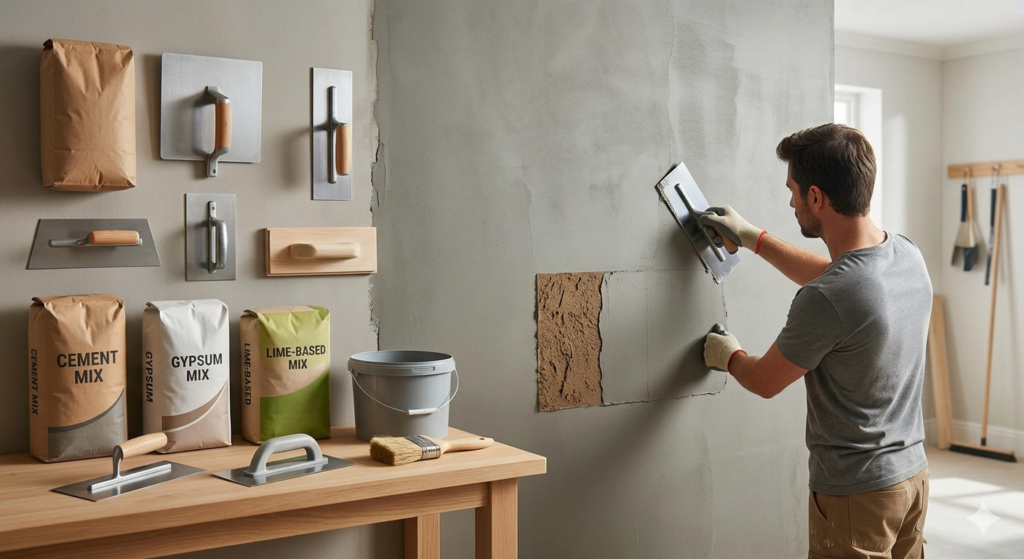
Different types of wall plaster are used based on application and requirements:
Cement Plaster
This is the most common type used in residential and commercial construction. It offers strength and durability.
Gypsum Plaster
Gypsum plaster provides a smooth finish and is commonly used for interior walls.
Lime Plaster
Lime plaster is an eco-friendly option and is used in traditional construction.
Benefits of Wall Plaster
Using proper wall plaster offers several advantages:
- Provides a smooth surface for painting
- Protects walls from moisture and cracks
- Improves wall strength and durability
- Enhances overall appearance of interiors
Good plastering work ensures long-lasting wall performance and reduces maintenance issues.
Wall Plaster Application Process
To achieve the best results, follow the correct plastering process:
Step 1: Surface Preparation
Clean the wall surface and remove dust, oil, or loose particles before applying plaster.
Step 2: Mixing Materials
Prepare a mixture of cement and sand in the correct ratio (usually 1:4 or 1:6). Proper mixing is essential for quality wall plaster.
Step 3: Applying Plaster
Apply the plaster evenly using a trowel. Maintain uniform thickness for better results.
Step 4: Leveling and Finishing
Smooth the surface using appropriate tools to achieve a flat and even finish.
Step 5: Curing
Keep the plastered wall moist for several days to ensure strength and durability.
Common Mistakes to Avoid
Avoid these mistakes during plastering work:
- Using incorrect cement-sand ratio
- Skipping surface preparation
- Applying uneven plaster thickness
- Not curing the plaster properly
Proper technique ensures strong and long-lasting wall plaster.
Tips for Better Wall Plaster
- Always use quality materials
- Follow correct mixing ratios
- Apply plaster in suitable weather conditions
- Ensure proper curing after application
These tips improve the performance and finish of plastering work.
Conclusion
Wall plaster is a vital part of construction that enhances both strength and appearance. By choosing the right type of plaster and following proper application methods, you can achieve durable and smooth wall surfaces.


0 Comment