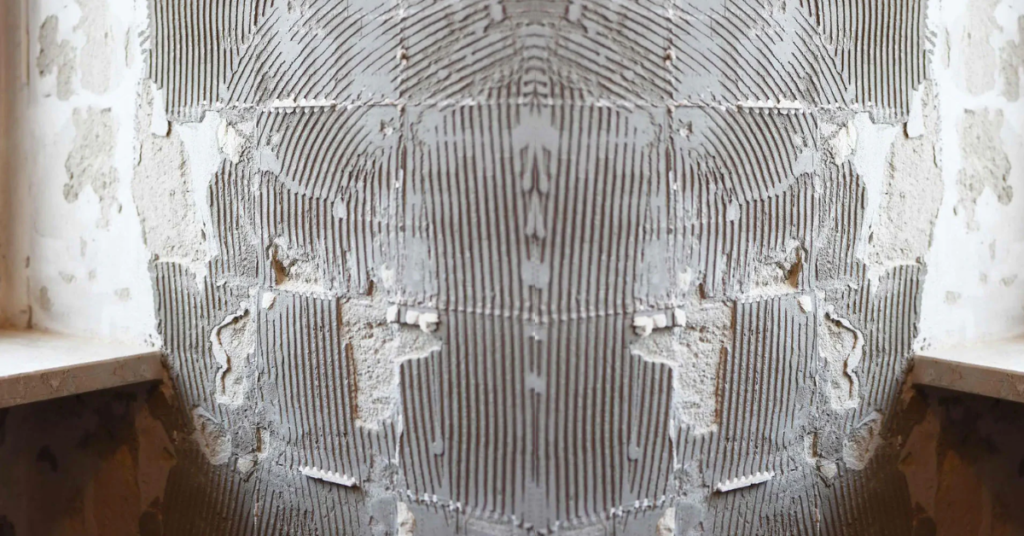
Removing old tile adhesive is an important step before installing new tiles, flooring, or wall finishes. Whether you are renovating your home or preparing a surface for fresh tile installation, knowing how to remove tile adhesive properly helps ensure a smooth and long-lasting finish.
In this guide, we explain step-by-step methods to remove tile adhesive from floors and walls using both manual and chemical techniques.
Why Is It Important to Remove Tile Adhesive Completely?
Leaving old tile adhesive on the surface can cause:
- Uneven tile fixing
- Poor bonding of new tiles
- Hollow sounds and cracks
- Reduced life of flooring or wall tiles
A clean and level surface is essential for proper tile installation.
Types of Tile Adhesive You May Need to Remove
Before choosing a method, identify the type of adhesive:
- Cement-based tile adhesive (most common)
- Ready-mix tile adhesive
- Epoxy tile adhesive (very strong)
Different adhesives require different removal techniques.
Tools Required to Remove Tile Adhesive
- Scraper or putty knife
- Hammer and chisel
- Angle grinder (for thick adhesive layers)
- Adhesive remover chemical
- Safety gloves, mask, and goggles
Method 1: Manual Removal (Best for Small Areas)
Step-by-Step Process:
- Use a scraper or chisel to break the adhesive
- Tap gently with a hammer
- Remove loose adhesive pieces
- Sweep and clean the surface
✅ Suitable for light adhesive residue
❌ Time-consuming for large areas
Method 2: Using Chemical Tile Adhesive Remover
Chemical removers soften adhesive, making removal easier.
How to Use:
- Apply adhesive remover on the surface
- Wait as per manufacturer instructions
- Scrape softened adhesive
- Clean with water and let surface dry
✅ Less physical effort
❌ Requires ventilation and safety measures
Method 3: Mechanical Removal (Professional Method)
Used for.predicted large areas or hard adhesives.
Common Tools:
- Angle grinder with grinding disc
- Floor scraper machine
✅ Fast and effective
❌ Requires skill and safety precautions
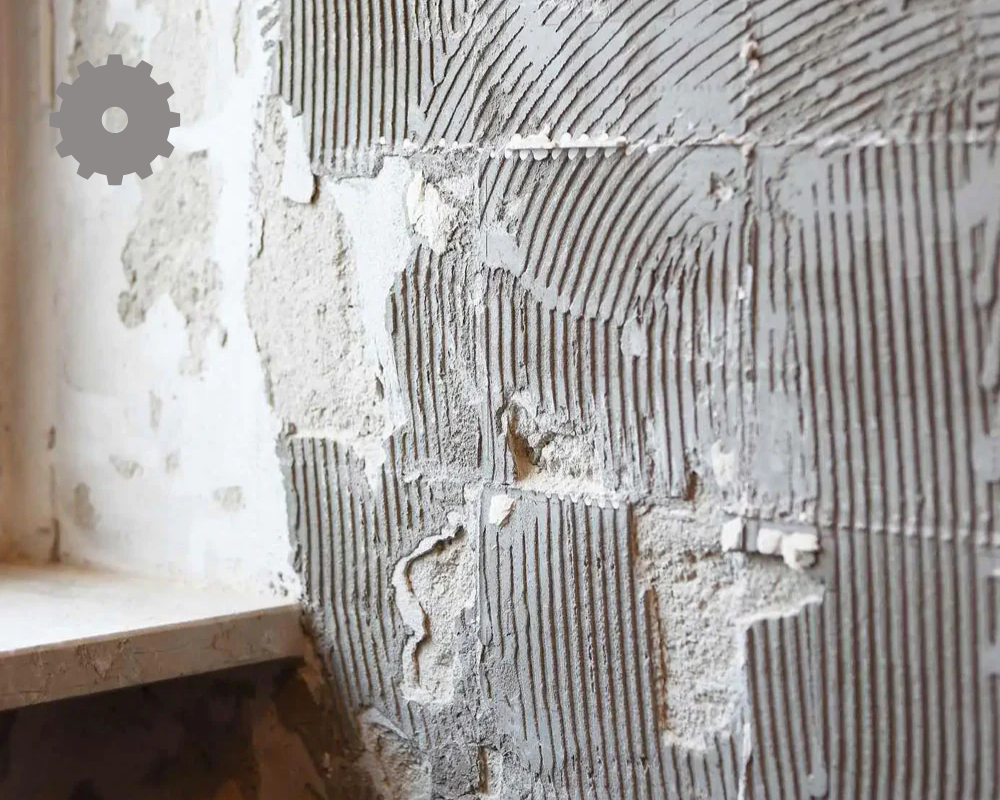
Method 4: Removing Tile Adhesive from Walls
- Start from top to bottom
- Use a flat scraper to avoid wall damage
- Avoid heavy hammering on plastered walls
- Smooth surface after removal
Tips for Safe and Effective Adhesive Removal
- Always wear protective gear
- Do not use excessive force on walls
- Keep surface slightly damp to reduce dust
- Check surface level after removal
Preparing Surface After Adhesive Removal
Once the adhesive is removed:
- Clean the surface thoroughly
- Repair cracks or uneven areas
- Allow surface to dry completely
- Apply primer if required
This ensures strong bonding for new tile adhesive.
Common Mistakes to Avoid
❌ Skipping surface cleaning
❌ Installing tiles over uneven adhesive residue
❌ Not using safety equipment
❌ Rushing the removal process
Final Thoughts
Knowing how to remove tile adhesive correctly helps achieve a professional finish during renovation or tile replacement. Whether you choose manual tools, chemical removers, or mechanical methods, proper surface preparation is the key to long-lasting tile installation.
For best results, always use high-quality tile adhesive when fixing new tiles after removal.


0 Comment